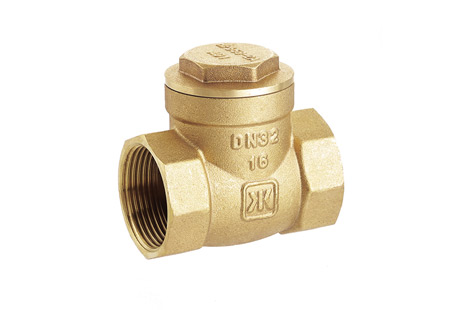
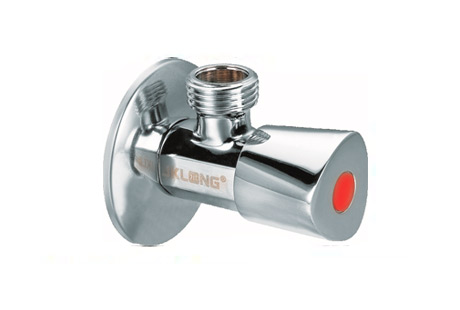
When it comes to installing plumbing systems, using high-quality components is vital. That's why many professionals recommend the use of 25mm brass ball valves. These valves are known for their durability, reliability, and long lifespan. In this blog post, we will provide you with a guide on how to properly install a 25mm brass ball valve, ensuring optimal performance and leak-free operation.
Gather the Required Tools and Materials
Before you begin the installation process, make sure you have all the necessary tools and materials at hand. You will need a wrench, Teflon tape, thread sealant, a pipe cutter, a deburring tool, and, of course, a 25mm brass ball valve. These valves are available in various brands, but it is crucial to select a trusted and reputable brand to ensure the highest quality.
Prepare the Pipes
To install the 25mm brass ball valve, you need to prepare the pipes. Start by measuring and marking the desired location for the valve. Using a pipe cutter, carefully cut the pipes at the designated spots. Ensure that the cuts are clean and straight to guarantee a tight and secure fit.
Deburring and Cleaning
After cutting the pipes, it is crucial to deburr the edges and clean them thoroughly. Use a deburring tool to remove any sharp edges or burrs left from the cutting process. Additionally, make sure to clean the pipes using a suitable cleaning solution to eliminate any dirt, debris, or grease that may hinder a proper seal.
Apply Thread Sealant and Teflon Tape
To ensure a tight and leak-free connection, it is recommended to use thread sealant and Teflon tape. Start by wrapping the male pipe threads with a layer of Teflon tape in a clockwise direction. Ensure complete coverage while avoiding overlaps. Next, apply a thin layer of thread sealant onto the male pipe threads. This combination of sealant and Teflon tape will help prevent any leakage at the connection points.
Install the 25mm Brass Ball Valve
Now it's time to install the 25mm brass ball valve. Position the valve onto the pipes, aligning the female threads with the male threads on the pipes. Use a wrench to tighten the connections, ensuring a secure and firm fit. Be careful not to overtighten, as it may damage the valve or cause leaks. Once tightened, inspect the connections to confirm they are properly sealed in place.
Test for Leaks
After the installation is complete, it is crucial to test the valve for leaks. Turn on the water supply and observe the connections for any signs of water leakage. Pay close attention to the valve body, pipe joints, and connections. If any leaks are detected, promptly tighten the connections or apply additional sealant or Teflon tape.
In conclusion, the installation of a 25mm brass ball valve requires careful attention to detail to ensure proper functionality and leak-free operation. By following the step-by-step guidelines provided in this blog post, you can confidently install a 25mm brass ball valve in your plumbing system. Remember to select a trusted brand, gather all the necessary tools and materials, and take your time during the installation process. A well-installed valve will provide you with years of reliable performance and peace of mind.

 English
 日本語
日本語 한국어
한국어 français
 Deutsch
 Español
 italiano
 العربية
 tiếng việt
 Türkçe
 ไทย
ไทย 中文
中文
