Soldering end feed fittings may seem daunting to novice DIYers or plumbing enthusiasts, but with the right knowledge and practice, it can become an accessible and valuable skill. This blog post aims to demystify the process of soldering end feed fittings, providing beginners with a foundation to progress and evolve into confident experts. Let's dive into the basics of soldering end feed fittings and unlock the secrets to success.
Safety First: Precautions and Protective Gear
Before diving into soldering, it is essential to prioritize safety. Soldering involves extremely high temperatures and the use of potentially hazardous materials. Ensure you are working in a well-ventilated area to avoid inhaling harmful fumes. Additionally, protect your hands and eyes by wearing heat-resistant gloves and safety glasses.
Essential Tools and Materials
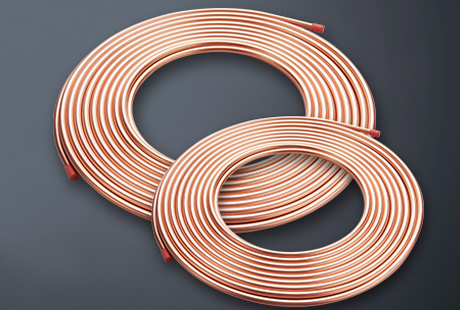
To embark on your soldering journey, you will need a few crucial tools and materials. These include a propane torch or soldering iron, end feed fittings, copper pipes, flux, solder, pipe cutter, deburring tool, flux brush, and a heat-resistant surface to work on. Acquiring these items beforehand will ensure a smooth and uninterrupted soldering experience.
Preparation: Cleaning and Fluxing
Proper preparation is vital for achieving successful solder joints. Start by cleaning the ends of the copper pipes using emery cloth or fine sandpaper. This step removes dirt, oxidation, and any residual solder from previous joints. Next, apply flux to the cleaned pipe ends and inside the fittings. Flux aids in the soldering process by preventing oxidation and ensuring a strong bond between the pipe and fitting.
Heating and Soldering Techniques
Once the preparation is complete, it's time to heat and solder the end feed fittings. If using a propane torch, carefully apply heat to the fitting, moving the flame evenly around its circumference. Heat the fitting until the flux starts to bubble and melt. Once the fitting is hot enough, touch the solder wire at the joint of the fitting and pipe. The solder should flow into the joint, creating a sealed connection. Be mindful not to apply excessive heat, as this can damage the surrounding area or result in weak joints.
If opting for a soldering iron, heat the fitting by touching the tip of the iron against the fitting and pipe joint. Once the flux melts, apply the solder wire to the joint, allowing it to flow and create a secure bond. Remember to maintain the proper temperature and avoid applying too much solder.
Cooling and Inspection
After soldering, allow the joint to cool naturally. Be patient and avoid moving or touching the joint until it has completely cooled. Once cooled, visually inspect the joint for any signs of imperfections or gaps. A properly soldered joint will have a smooth and shiny appearance, with the solder flowing evenly around the fitting and pipe. If any issues are detected, such as gaps or unevenness, it may be necessary to reheat and resolder the joint.
In conclusion, soldering end feed fittings may initially appear intimidating, but by understanding the basics, practicing safety measures, and following the proper techniques, anyone can become proficient in this valuable skill. With time and experience, you'll feel more comfortable and confident in your abilities to create strong and leak-free soldered connections.

 English
 日本語
日本語 한국어
한국어 français
 Deutsch
 Español
 italiano
 العربية
 tiếng việt
 Türkçe
 ไทย
ไทย 中文
中文
